How to Create a Bright 3D Scene in SuperMap MapDashboard WebAPP?
Operation Instructor of SuperMap GIS Software [1]
--- How to create a bright 3D scene in SuperMap Dashboard WebAPP?
This blog is targeted to figure out a common question worldwide.
Although this blog was based on "iServer + iPortal" software from SuperMap GIS, the operation in dashboard webAPP, especially the codes we will use, are the same as the SuperMap Online.

The following steps are recommended to figure out this issue.
- Step 0:
To make sure we have the acknowledge about how to publish 3D service from iServer, I am going to show the publishing process briefly. Publish the file workspace with 3D scene data in iServer. For example, Morelos 3D workspace file.


If you are using SuperMap Online, please ensure you have uploaded the workspace data to the SuperMap Online Platform.
- Step 1:
Create a 3D scene in iEarth with the published 3D data from iServer.
Open the front page of iPortal. In the Resource Center, Click on the tab Scene. And click on the Create Scene button to open the iEarth application.
After opening the iEarth application, click this button and select “custom service”, input the copied and modified realspace page address to add the 3d layers.


Then we will have a 3d scene. Click this button to give the name to the scene and save the scene, in order to load this scene in the dashboard application.


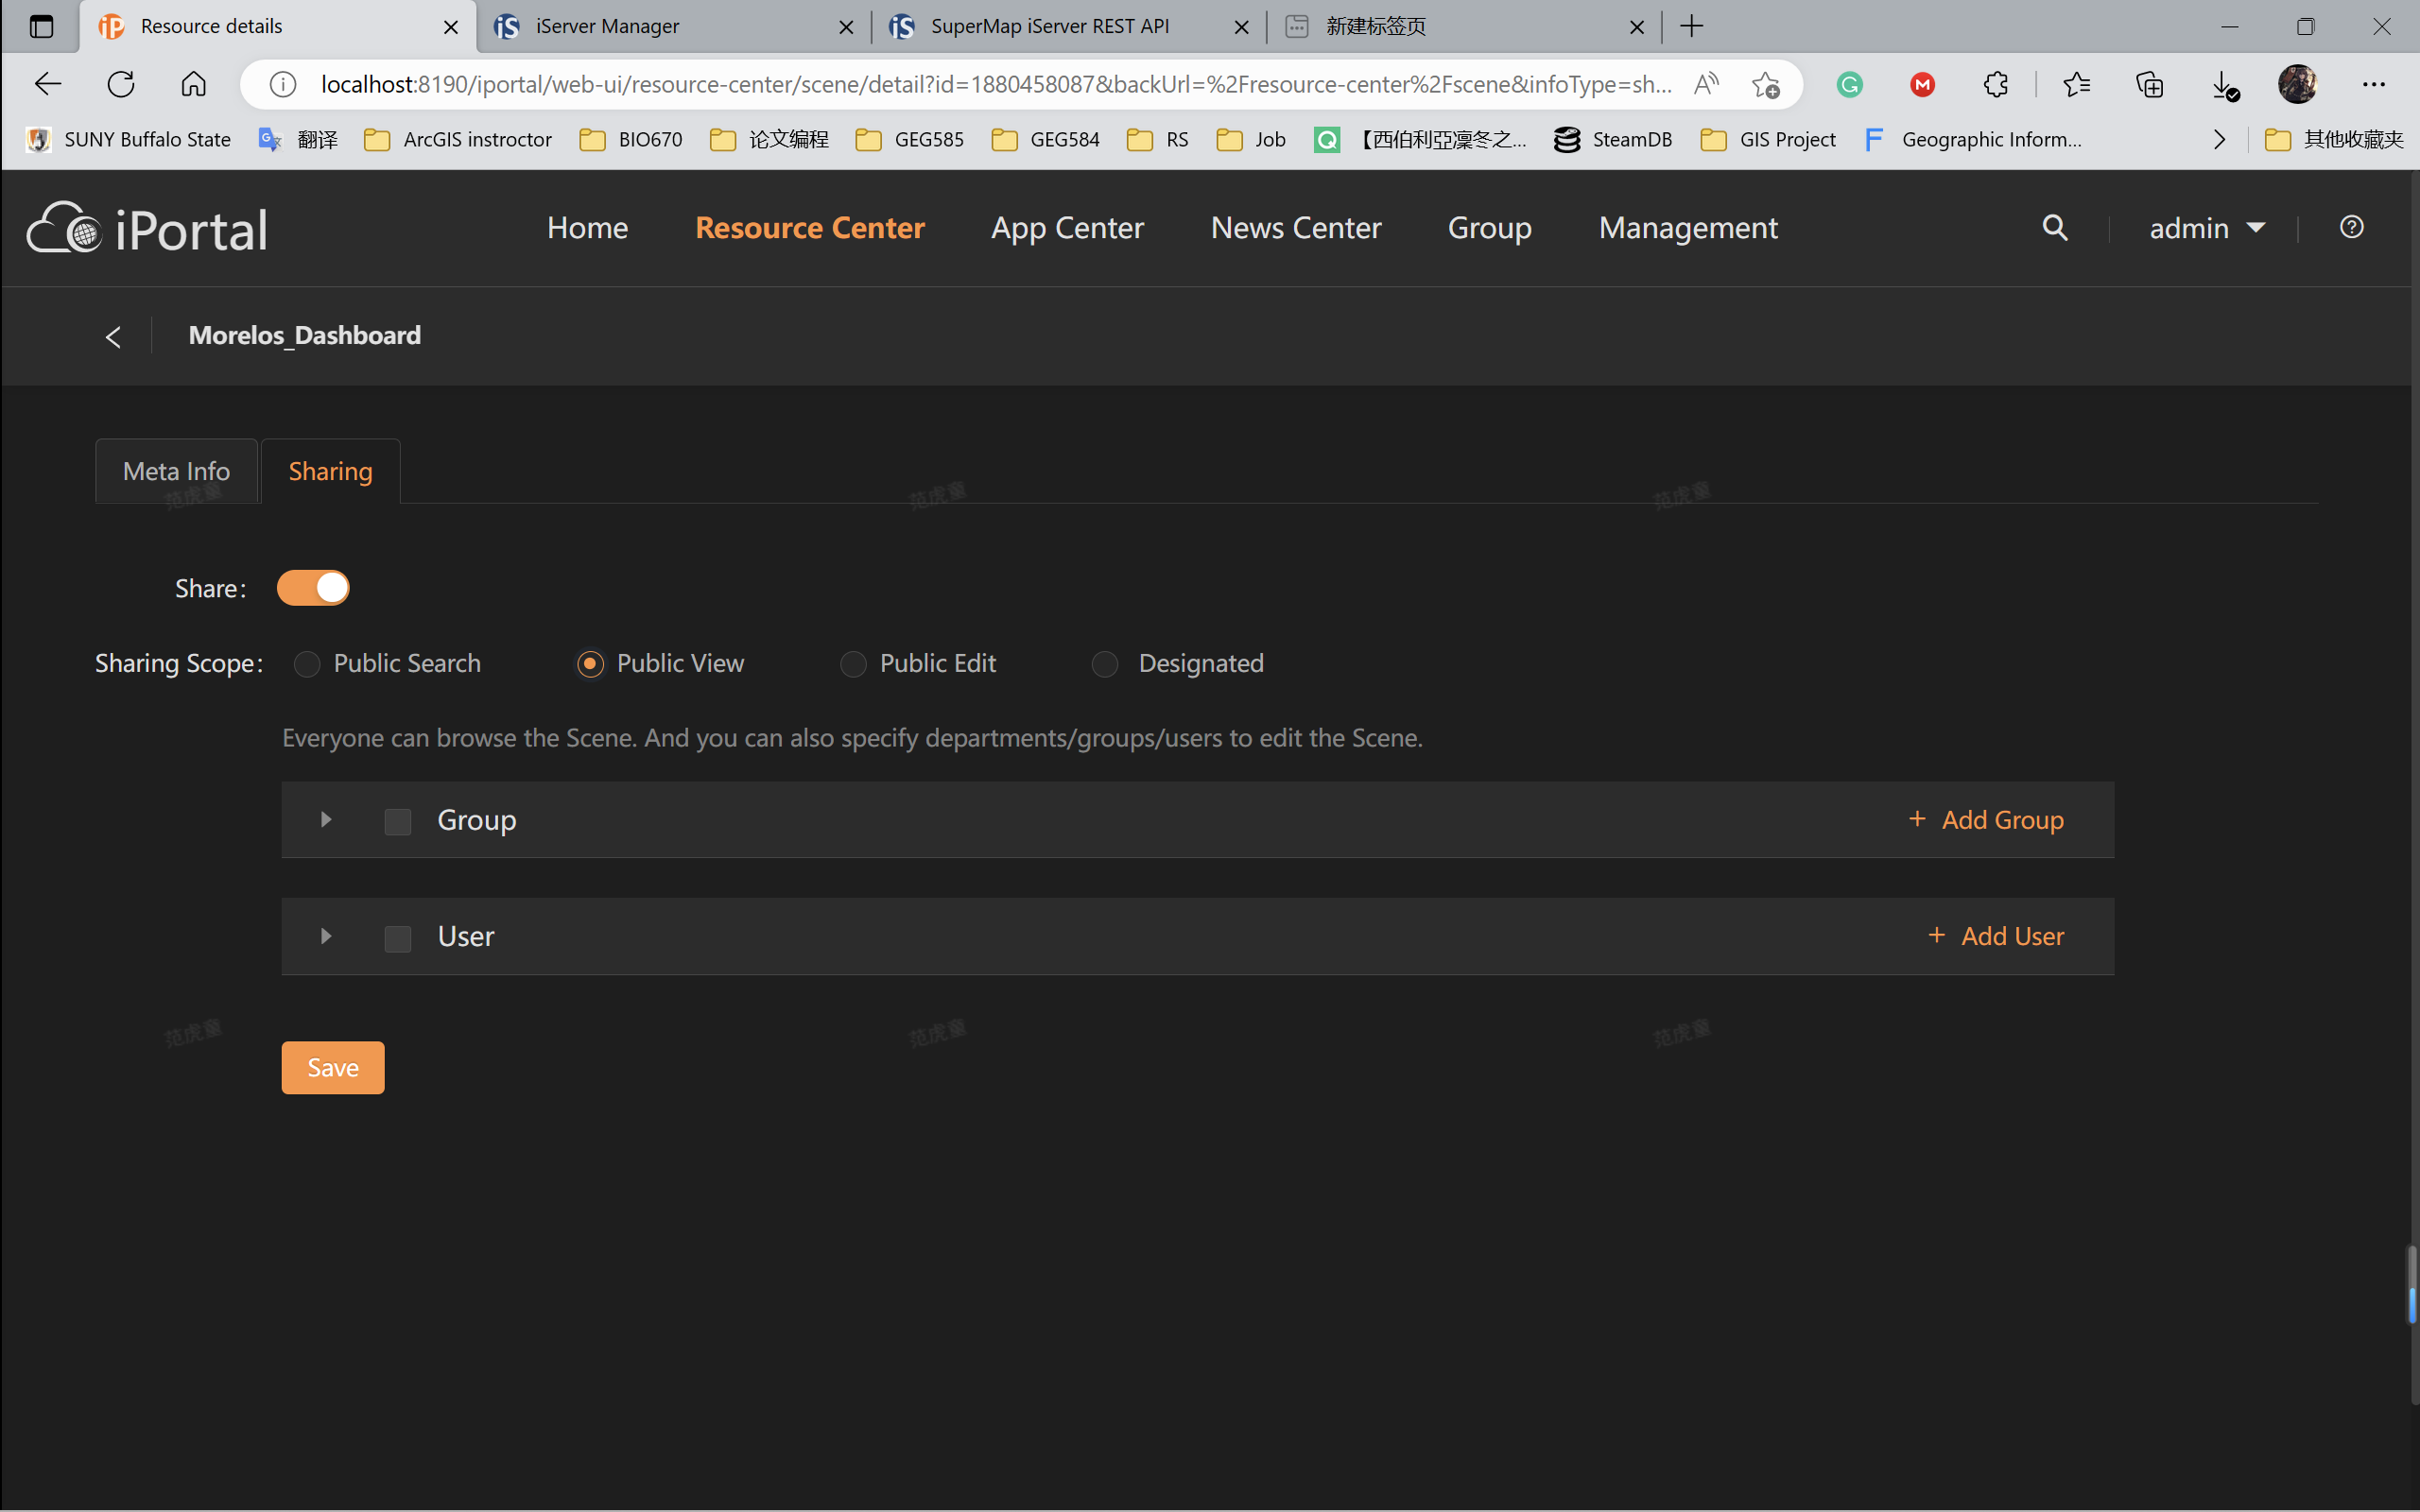
Move to the page of My Scenes, and select the share tab to change the share settings of the newly created scene to the image shown below. After the modification of the share settings, other users or viewers will be able to view your created scene from the dashboard.

- Step 2:
Move to the page Map Dashboard of Resource Center, and click on the Create Map Dashboard button. We are going to create a sample map dashboard to display the 3d scene. In the edit page, drag the Container first into the dashboard. Modify the size of the container.

Drag a Scene component in the section of Maps into the container.

Click Select Scene to select the newly created scene of the Morelos_dashboard dataset.

It is normal to see the scene in a dark situation. We will implement some approaches to make it brighter.


- Step 3:
Click this button to open the code editor. You can also click the arrow below the dashboard preview.

Click on the button based on the sequence shown below: “JavaScript --- default --- Scene”. Then we will open the code editor in the dashboard.

Copy the codes below and paste them into the code editor. Remember to change the second line content “let scene = $WebScene_1.viewer.scene”. Make sure the name of the yellow block is modified just the same as the name of the scene you want to make it brighter.

|
// Change the $WebScene_1 just the same as the name of the scene you want to make it brighter let scene = $WebScene_1.viewer.scene // Set the intensity of ambient light scene.lightSource.ambientLightColor = new Cesium.Color(1, 1, 1, 1); // Adding a light source var position1 = new Cesium.Cartesian3.fromDegrees(116.261209157595, 39.3042238956531, 480); // Light source direction point var targetPosition1 = new Cesium.Cartesian3.fromDegrees(116.261209157595, 39.3042238956531, 430); var dirLightOptions = { targetPosition: targetPosition1, color: new Cesium.Color(1.0, 1.0, 1.0, 1), intensity: 0.8 }; directionalLight_1 = new Cesium.DirectionalLight(position1, dirLightOptions); scene.addLightSource(directionalLight_1); |
Click refresh and run to load those codes and check the effect.

We can see the scene in the dashboard has become much brighter than before.

With those codes, we can also set multiple different scenes in the dashboard with varying settings of light.

The sample codes were shown below. You can also copy and check the effect.
|
// Change the $WebScene_1 just the same as the name of the scene you want to make it brighter let scene = $WebScene_1.viewer.scene // Set the intensity of ambient light scene.lightSource.ambientLightColor = new Cesium.Color(1, 1, 1, 1); // Adding a light source var position1 = new Cesium.Cartesian3.fromDegrees(116.261209157595, 39.3042238956531, 480); // Light source direction point var targetPosition1 = new Cesium.Cartesian3.fromDegrees(116.261209157595, 39.3042238956531, 430); var dirLightOptions = { targetPosition: targetPosition1, color: new Cesium.Color(1.0, 1.0, 1.0, 1), intensity: 0.8 }; directionalLight_1 = new Cesium.DirectionalLight(position1, dirLightOptions); scene.addLightSource(directionalLight_1); // Set Scene2 let scene2 = $WebScene_2.viewer.scene // Set the intensity of ambient light scene2.lightSource.ambientLightColor = new Cesium.Color(0.5, 0.8, 1, 1); // Adding a light source var position2 = new Cesium.Cartesian3.fromDegrees(116.261209157595, 39.3042238956531, 480); // Light source direction point var targetPosition2 = new Cesium.Cartesian3.fromDegrees(116.261209157595, 39.3042238956531, 430); var dirLightOptions2 = { targetPosition: targetPosition2, color: new Cesium.Color(0.2, 0.5, 1.0, 1), intensity: 0.8 }; directionalLight_2 = new Cesium.DirectionalLight(position2, dirLightOptions2); scene2.addLightSource(directionalLight_2); |
- Step 4:
Save the dashboard and publish the dashboard. Also, remember to change the sharing settings of the dashboard. For the users of SuperMap Online, you also need to change the Sharing settings to let others have access to view your map dashboard.

Then, with the Guest Account, we can directly access and view the dashboard with a much better-shown effect with the 3D data within the MapDashboard webApp. Besides, you can also share the link to the MapDashboard with others for the data shown.


Best wishes!
Comments
Post a Comment